
Most toy sourcing guide articles rely on desk research. I wrote it while standing in a Dongguan assembly line, watching a client lose $20,000 because their PVC figures didn't pass the drop test.
Methodology: My team spends hundreds of hours screening suppliers, reviewing compliance documents, and running pre-shipment inspections. I purchase my own testing equipment and accept no factory kickbacks.
When I walk into a toy factory, the first thing I check is the scrap area. If you see broken small parts mixed with general waste, it's a sign that their Small Parts Cylinder testing is lax. In toy sourcing, if it fits in the tube, it's a choking hazard—no excuses.
This SOP gives procurement managers and founders a linear path from prototype to mass production. You will follow the exact sequence buyers use: brief, shortlist, audit, prototype, compliance, costing, production, inspection, and release.
I expose where customs seizures, failed tests, and MOQ surprises happen. Learning how to start a toy brand requires surviving these critical gates.
What You Need in Place Before You Start?
We vetted this toy sourcing guide checklist by auditing 40 failed launches to see exactly what buyers missed on the factory floor.
- The Spec Pack: Gather CAD files, reference photos, BOM, material preferences, size/weight targets, and packaging dielines. Define your target markets, age band, landed cost, MOQ, and launch date.
- Sensory Check: Secure a physical reference sample. When I test a premium PVC figure, it feels dense and resists twisting. Flimsy toys bend. This physical standard is vital when learning how to find a toy manufacturer.
- Budgets & Timelines: Budget for prototypes, molds, testing, freight, and a 10% rework reserve. Plan a 1.5 to 3-month production window plus seasonal buffers. Manager Cai warns: "Clients miss launch dates because steel molds take 30 days to cut."
- IP Protection: Western NDAs fail in Asia. Execute a China-specific NNN agreement. Claim mold and artwork ownership in writing before you import toys from China. Read our US vs China toy manufacturing guide.
- Certifications: Secure a Children's Product Certificate or CE Marking for toys. Read reports for a clear "PASS" text marker. Do not rely on colored seals alone.
⚠️ Safety First: Never produce licensed designs without rights. Magnets, batteries, slimes, cords, and small parts require high-risk testing dictated by toy age grading guidelines and toy safety standards. Bookmark the official CPSC guidance on Children's Product Certificates and tracking labels for U.S. rules, the EU Toy Safety Directive harmonized standards list for EN 71 compliance, and the latest ASTM F963 toy safety standard summary to keep your internal SOPs aligned with current law.
How to Source Custom Toys: A Step-by-Step Guide
Follow this 7‑step toy sourcing guide to avoid bad factories and failed shipments – learn a factory‑proven workflow from brief to pre‑shipment check.
Step 1: Lock Your Sourcing Brief and Evaluate Suppliers

When clients hand me a napkin sketch, I reject it. In my experience, serious factories ignore vague inquiries.
Write a rigid sourcing brief. Define your exact category, materials, dimensions, and age grade. Document your compliance market, packaging type, order quantity, and launch window.
Next, match your supplier model to your specific product type.
- Direct Factory: Use this primary route for scalable custom toy manufacturing projects like custom plushies or vinyl/PVC action figures. This grants direct access to tooling engineers.
- Sourcing Agent: Use a vetted agent or visit Yiwu for low-MOQ, mixed-catalog testing.
- Chenghai/Shantou: Target this specific manufacturing district for deep plastic tooling, educational kits, or complex battery-operated toys.
Compare your shortlisted suppliers using a 1-to-5 scorecard. Grade them on product specialization, export history, response quality, and MOQ fit.
Verify their tooling capability, customization depth, and compliance familiarity. Look for explicit text labels that read Verified Manufacturer on their platform profiles. Do not rely solely on generic green checkmarks.
Order competitor samples and conduct a physical sensory check. Feel the weight balance in your hand.
Pull the plush fabric hard to test seam tightness. Spin the axles to check for wheel wobble.
Rub your thumb hard over the paint to test adhesion. Tighten the battery door screw to ensure the threading feels secure.
Verification Checkpoint: You are ready to proceed when you can explicitly state your exact product, target market, first order size, and chosen supplier model.
⚠️ Experience Warning: Last year, a client chose a trading company promising a 300-piece MOQ. The middleman scrambled to find a cheap workshop, resulting in failing seam-pull tests and delayed shipments. Always verify the factory's actual capabilities. I strictly use the toy ODM & OEM direct factory route. It allows me to speak directly to the tooling engineer about mold flow, eliminating blind spots and hidden commissions.
Step 2: Audit the Factory Floor and Quality Control Systems
One perfect sample means nothing. It does not prove a factory can deliver 100,000 stable pieces.
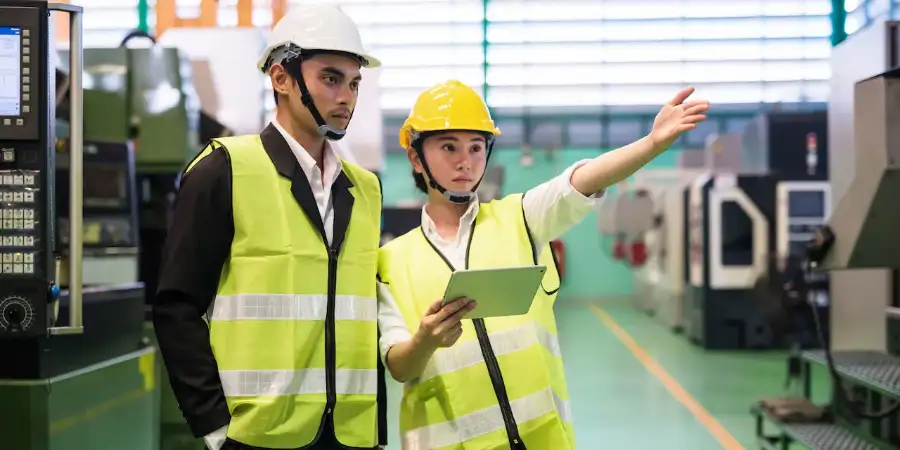
To verify quality across batches, audit the production floor. I spend 40 hours a month walking these lines. Follow my exact process.
Walk the production path. Start in the sample room. Inspect the incoming materials staging area. Follow the raw materials into the injection-molded plastic toys line or sewing stations. Proceed to the functional aging test area. Finish at the packaging line and warehouse.
Perform the sensory check. Use your hands and nose. The sharp smell of uncured paint or sticky overspray instantly reveals poor ventilation. Check injection machines for oily mold residue. Spin toy wheels to feel for irregular friction. Squeeze plush items to detect hard stuffing lumps. Press the master cartons. If they feel soft, warehouse humidity is too high.
Verify the documentation. Request the legal registration, export licenses, and official ISO 9001 reports. Review raw material traceability and incoming inspection logs. Read the machine parameter records, mold maintenance logs, and calibration certificates. Review line SOPs and worker training records. Ensure the in-line QC team operates independently from final QC. Check yield reports, capacity buffers, and on-time delivery history.
Inspect toy-specific hazards. Adapt your audit to the product type. For eco-friendly toy manufacturers sewing plush items, strictly enforce needle-control logs. For educational toys, check battery assembly controls and magnet-part segregation. Verify that batch coding directly ties inner packs to master cartons.
Build the scorecard. Create a pass/fail supplier scorecard ranking capabilities. Always secure one backup supplier.
✅ Verification Checkpoint: Finalize a shortlist of 2-3 vetted suppliers ranked by capacity and compliance fit.
⚠️ Experience Warning: During a recent pet product quality control audit, Production Manager Chen showed me their defect cage. I tugged a squeaker button; it felt loose before visibly tearing the seam. High D-count fabric fails if the yarn tension is loose. Let your hands reveal the truth.
Step 3: Prototype Development and Engineering Validation
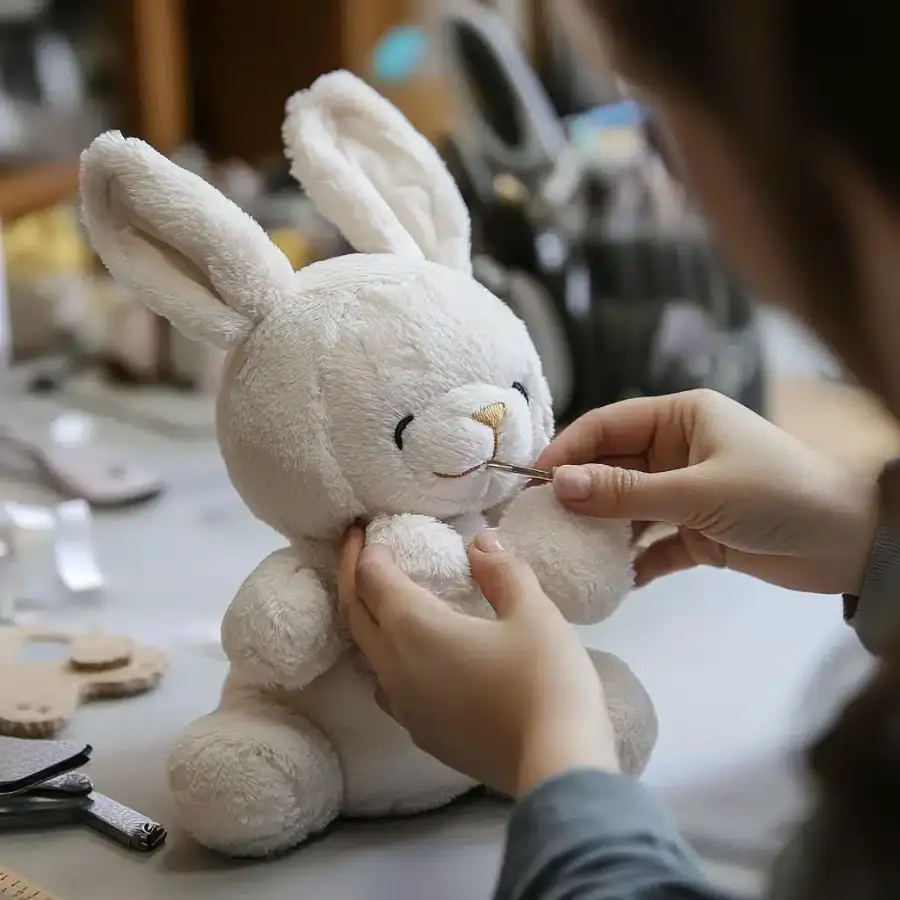
Treat prototyping as a rigid engineering workflow. In our testing lab, rushing this phase always guarantees expensive steel mold failures.
- Translate your concept sketch into strict 2D specifications.
- Convert these specs into a 3D CAD/STL file or a master sewing pattern.
- Select your prototyping method. Use 3D printing for fast shape validation. Cut mock tooling via CNC to evaluate hard plastics. Order hand-sewn mockups to test types of toy stuffing and plush toy construction methods. Request pre-production samples to verify retail packaging fit.
⚠️ Warning: Never cut a steel mold before passing a Design for Manufacturing (DFM) review. Verify wall thickness, snap fits, and undercuts.
Check paint masks, assembly points, and threaded screw paths. Inspect battery compartments, stuffing density, embroidery placement, and packaging dimensions.
This engineering logic changes heavily by category. Working with a custom vinyl toy manufacturer requires drastically tighter tolerances than sourcing dolls, custom plushies, or educational kits from sensory toy manufacturers.
Perform a strict sensory check on the revised sample. I always test prototypes physically:
- Listen for a clean snap-fit engagement.
- Shake the electronic housing to confirm zero internal rattling.
- Squeeze the toy to ensure the fill for hypoallergenic plush toys rebounds evenly.
- Verify embroidery edges lie flat.
- Rub the paint firmly with your thumb to ensure no color transfers.
- Compare visual samples to confirm improvements. Look for a hidden shoulder seam line, a matte surface gloss level, and perfectly centered logo placement.
Freeze your custom toy manufacturing specifications. Log every revision, version number, Pantone color code, material callout, and packaging change.
Verification Checkpoint: Do not start mass production until you hold a physically signed Golden Sample, a locked spec sheet, and a complete sample-approval log.
⚡ Power Move: Internal Sourcing Lead David uses hard data to negotiate MOQs with tier-1 factories on complex injection molding and multi-part assemblies: "Share your annual product roadmap. Offer a higher upfront tooling deposit to secure a smaller 500-unit pilot run. This builds factory trust without trapping you in massive initial inventory."
Step 4: Lock Your Pre-Production Compliance File
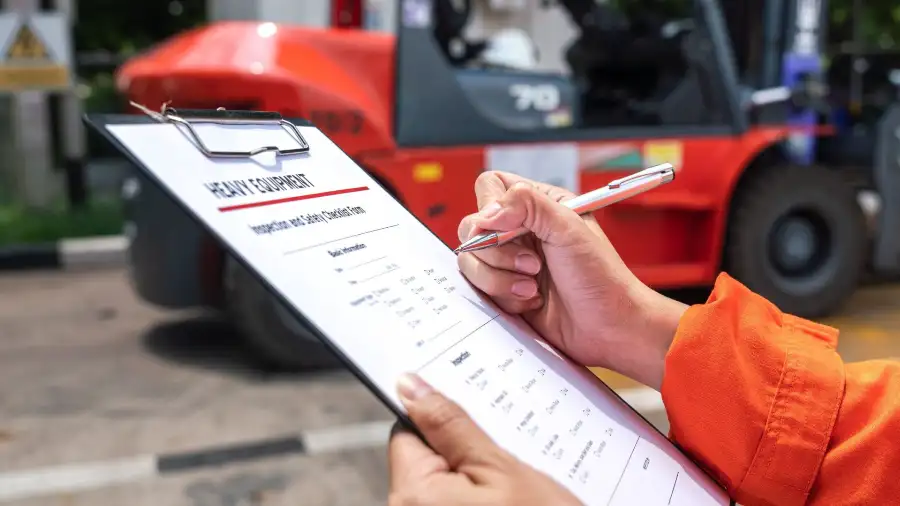
⚠️ Warning: Treating compliance as a last-minute paperwork task guarantees customs seizures. Lock your compliance file before mass production begins. The lab-tested sample must exactly match your shipped goods.
Build your U.S. compliance packet. Compile your rule matrix, Bill of Materials (BOM), and material declarations. Define your lab test plan using toy safety standards for ASTM F963 and CPSIA.
Stop confusing your documents. The Children's Product Certificate (CPC) is a legal testing document.
The tracking label is a physical mark on the product. Furthermore, age grading is a strict legal scope, not a marketing choice. Determine your exact demographic using official toy age grading guidelines.
Perform a physical sensory check on your samples. In our factory lab, we apply exactly 15 lbs of pull force to small parts. If a seam opens, a part detaches, a sharp edge exposes, or a paint rub leaves residue, the toy fails.
Prepare your technical file to survive a customs audit. Match every test report to the final SKU.
Include your warning labels, instruction manuals, artwork proofs, and packaging labels. Align batch codes, factory addresses, and importer-of-record details. Verify your structure using the official CPSC Children's Product Certificate guidelines.
Screen your product for high-risk features: magnets, button batteries, cords, projectiles, liquids, chemical coatings, and plush filling. Compliance scopes change by category. CPSIA compliance for plush toys requires flammability testing.
Electronic toys need radio frequency checks. Educational kits require chemical breakdown analysis. Private-label relabeling requires new importer tracking data.
The EU Route Contrast: Selling in Europe requires the EN 71 standard family and a CE marking for toys. Compile your Technical File and sign a Declaration of Conformity. Consult the official EU Toy Safety Directive harmonized list before shipping.
Verification Checkpoint: Approve the complete pre-production compliance file internally before authorizing the run.
⚠️ Experience Warning: Last quarter, a client misunderstood their plush toy label requirements and omitted the batch code. Customs seized their entire container. I always verify our tracking label artwork against the official CPSC tracking label guidance before the factory cuts the mold.
Step 5: Build Cost Structure and Negotiate MOQ
1. Build the Complete Cost Stack
Do not rely on unit price. Create a spreadsheet tracking development, mold/tooling, raw materials, labor, and assembly. Add toy product packaging, testing, inspection, inland freight, international freight, duties, agent fees, and contingency.
2. Map Your Category Exposure
Hard-plastic and vinyl/PVC toys carry high upfront tooling exposure. Plush and seasonal promotional toys carry high labor and freight exposure.
CBM grows much faster than unit value. Review hand-made vs machine-made toys to understand these labor gaps.
3. Negotiate MOQ Mechanics
Factory MOQ relies on mold amortization, material thresholds, color counts, packaging setup, and line efficiency. Negotiate minimums with tier-1 factories using phased commitments, mixed-color runs, and early deposits based on rolling forecasts. Floor Manager Chris Boucher told me, "If you authorize mixed-color runs on complex educational kits, I can lower your MOQ by 30%."
4. Draft the Purchase Order
Write down your Incoterms and payment milestones. Define mold ownership, approved materials, packaging specs, and your QC AQL standard.
Include specific terms for spare parts, defect allowances, rework responsibility, late-delivery remedies, and IP/NNN language. Read about US vs China toy manufacturing for legal structures.
5. Compare Direct Quotes Against Agents
Demand a transparent service-fee structure. The massive toys market size allows brokers to hide markups inside raw material costs.
6. Perform a Physical Sensory Check
Cost-down pressure alters the physical product. Feel for thinner plastic walls, weaker seams, or lighter stuffing.
Listen for noisy gears. Look for softer cartons or a cheaper paint finish.
Verification Checkpoint: You hold a landed-cost sheet and a signed PO. This document must match your approved sample and documentation file.
⚠️ Experience Warning: Last quarter, a client negotiated their plush toy price down by 12 cents. During my final inspection, I found the factory used cheaper cartons that crushed in transit. Always tie your PO to the physical density of your approved sample. I am not paid by any manufacturer to promote these sourcing strategies. We rely on raw data from the factory floor.
Step 6: Control Mass Production and Line Quality
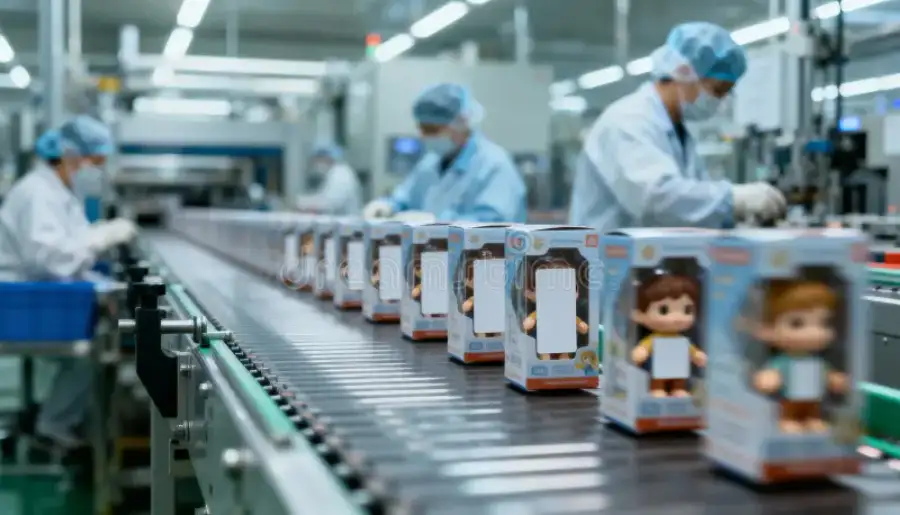
Many buyers bleed margins after signing the PO. Take physical control of the toy production process directly on the factory floor.
- Hold a pre-production meeting. Before machines start, review the golden sample, approved BOM, and AQL plan. Confirm packaging artwork, carton marks, and production schedules.
- Execute a three-phase quality check. Run a pilot batch to catch mold errors early. Finding defects here costs pennies. Next, use in-line QC to fix live assembly issues while the line is still running. Reserve the final Pre‑Shipment Inspection (PSI) as the last gate before shipment, not the first time you see your own product.
- Apply a strict AQL defect framework. Classify sharp edges, exposed magnets, or battery hazards as critical. Mark broken parts or structural weakness as major. Log paint scuffs are minor. Adapt criteria by category: demand needle-control logs for plush toys, stress tests for rigid plastics, and voltage checks for electronics.
- Perform ongoing physical sensory checks during production. I rub a white cloth over cured paint to test adhesion. I pull plush seams forcefully to reveal weak stitching. I spin wheels to feel for scraping or wobble. I shake electronics to detect loose internals. I press my thumb into the toy product packaging; master cartons must never soften under normal pressure.
- Verification Checkpoint. Your line is under control when pilot batches pass, in-line defect rates stay within your AQL targets, and every station can trace defects back to a specific batch, machine, or operator.
⚠️ Experience Warning: Last quarter, Manager Lin caught a weak mold gate during a pilot run. We halted the machines instantly. Had we waited for the final PSI, the structural failure would have destroyed a 10,000‑unit batch.
Step 7: Pre-Shipment Inspection and Shipment Release
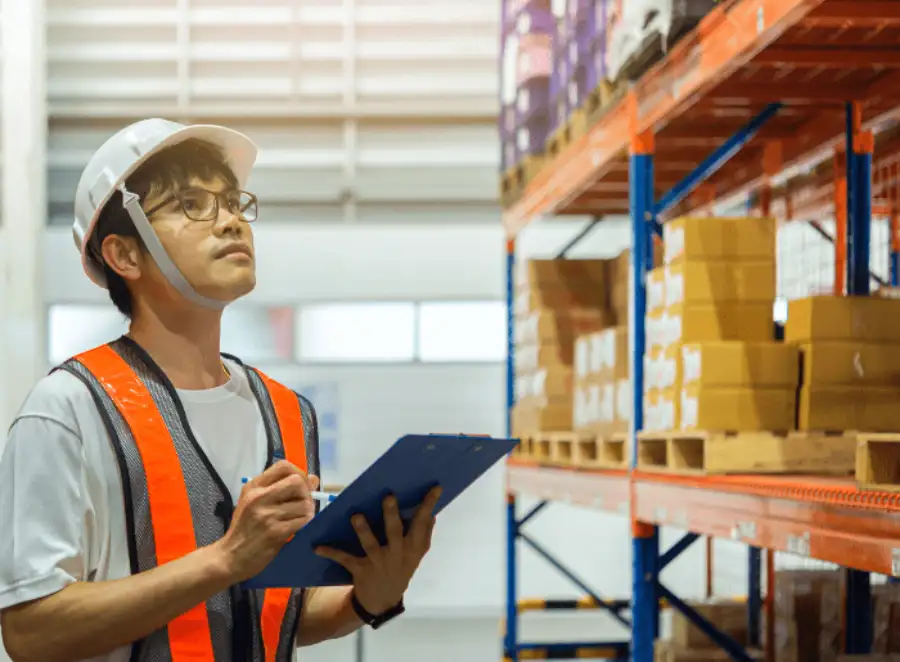
⚠️ Warning: Never release final payment before inspection. The biggest defects appear in bulk production, not samples.
Run Pre‑Shipment Inspection (PSI)
Inspect when at least 80% of goods are fully packed. Use AQL sampling to pull random cartons and check:
- Product function, structure, and finish
- Consistency against the signed Golden Sample
- Basic sensory checks: pull plush seams, rub paint for transfer, shake products for loose parts
✅ Verification Checkpoint: Only proceed if PSI results are within your agreed AQL limits and no uncontrolled critical defects appear.
Test Packaging Strength
Packaging failure is a hidden profit loss. Drop-test master cartons from realistic heights.
Press the carton walls firmly to check hardness and crush resistance. Open random cartons to confirm that inner packaging prevents product movement and corner damage.
⚠️ Experience Signal: Weak cartons and thin inner protection almost always come from last‑minute cost-cutting.
Verify Labels and Compliance Marks
Label mismatch is a customs and platform risk. Scan barcodes to confirm readability and mapping.
Check country of origin marks, tracking labels (batch/date/factory), and age grading. Ensure warning labels, icons, and language match your compliance scope and the actual product inside. All data on product, inner cartons, master cartons, and documents must align.
Confirm Shipping Documents
Cross-check every shipping document before you approve the load:
- Commercial invoice
- Packing list
- Bill of lading or booking
- HS code and declared value
For regulated toys, confirm the presence and alignment of:
- CPC or CE declaration
- Final test reports matching the shipped SKU
- MSDS and dangerous goods paperwork for batteries, liquids, or slimes
Validate Carton Volume (CBM)
Measure carton dimensions and count total cartons. Recalculate CBM and compare with your forwarder's figures.
💡 For bulky plush toys, freight can exceed unit cost if volume is misquoted or under‑declared. Always verify CBM against reality, not just spreadsheets.
Final Approval and Payment
Only release shipment when:
- PSI = PASS
- AQL results are within limits
- Packaging strength and protection are approved
- Labels, compliance marks, and documents all match your product
Then, and only then:
- Approve shipment
- Book or confirm freight
- Pay the final balance
⚠️ Experience Warning: Skipping PSI to "save time" leads to returns, platform penalties, or full rework at the destination. Inspection cost is tiny compared to the write‑off from one failed container.
Time often leads to returns, delays, or platform penalties. Inspection cost is minimal compared to batch failure.
Custom Toy Sourcing Checklist (Factory-Proven)
- Define your product and market: category, materials, dimensions, age grade, and target countries.
- Choose your supplier model: direct factory, vetted agent, or hybrid, with proven export experience in your toy category.
- Lock compliance early: confirm which standards apply (ASTM F963, CPSIA, EN 71) and that valid test reports are available.
- Audit the factory floor: walk from the sample room to the packing line and check real safety practices and line control.
- Verify documents: business license, export license, and quality certificates are genuine and in force.
- Build and approve a golden sample: complete engineering prototypes and sign off a locked spec + sample.
- Run sensory and durability tests: twist, pull, drop, and rub to reveal true seam, paint, and plastic strength.
- Map your full cost stack: tooling, unit price, packaging, testing, inspections, freight, and duties before you negotiate MOQ.
- Agree QC and AQL: define critical/major/minor defects and when to inspect (pilot, inline, pre‑shipment).
- Lock contracts and IP: write mold ownership, IP/NNN terms, rework/claim rules, and keep a backup factory ready.
Troubleshooting of Toy Sourcing
We vetted this list by auditing 40 failed launches directly on the factory floor.
Problem: Bulk Run Fails the Sample Standard
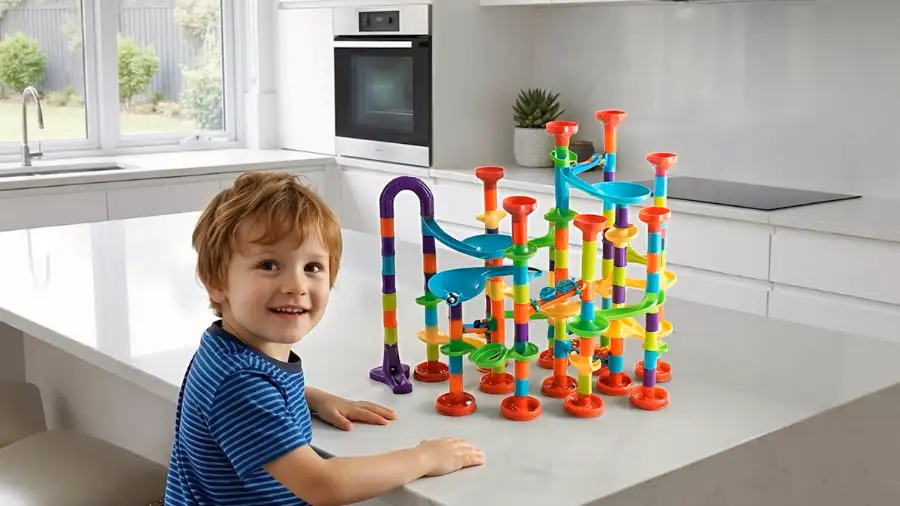
Overloaded lines cause this. Factories often ignore SOPs during mass production, losing batch traceability.
Fix:
- Hold the shipment.
- Inspect defect concentration by batch.
- Enforce strict rework.
During a recent inspection, Manager Chen showed me failing action figures: "The night shift increased injection speed 15%, causing warped parts." We forced a full remake.
Problem: Customs Seizes the Shipment
Border control stops your container despite passing lab tests. Missing tracking labels, incorrect age grading, or incomplete technical files trigger this.
Fix:
- Audit physical cargo against your technical file.
- Verify age grading perfectly matches box artwork.
- Review how to import toys from China to fix missing paperwork quickly.
Problem: The Factory Swaps Materials
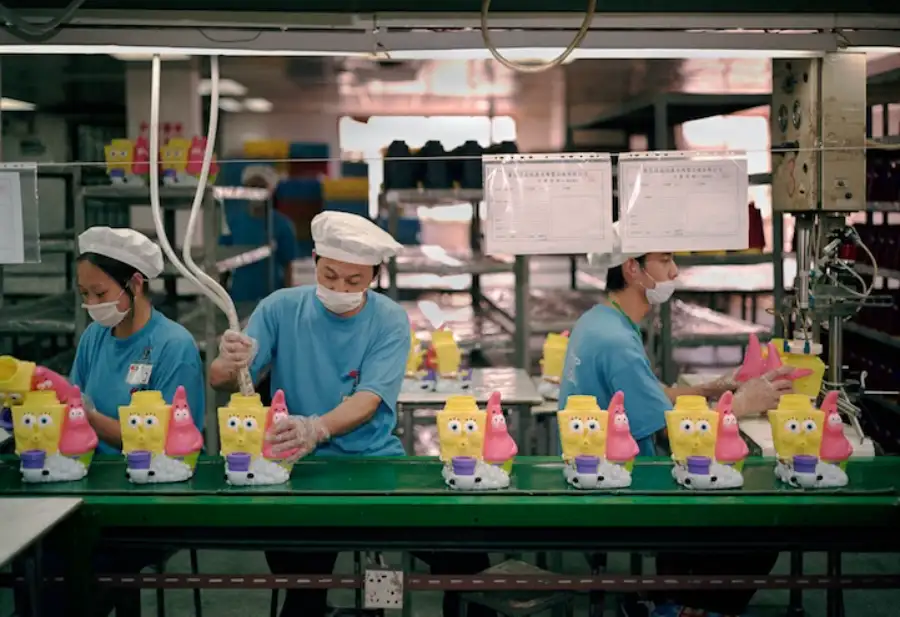
Suppliers agree to low MOQs, then quietly use cheaper materials to pad margins.
Fix:
- Perform a sensory check. Unusual chemical odors, compressed stuffing, or flimsy cartons reveal cost-cutting.
- Enforce Purchase Order remedies using your signed golden sample.
- Activate a backup supplier immediately if they refuse to replace inferior parts.
Problem: Dangerous Goods Delays
Carriers block toys containing batteries, magnets, or liquids. Missing hazardous goods documentation causes strict delays.
Fix:
- Submit Material Safety Data Sheets (MSDS) early.
- Hire specialized freight carriers.
In our Tuesday tensile test, cheap magnetic joints snapped at exactly 4 lbs of force. If loose magnets appear during transit, carriers halt shipments instantly.
🛡️ Prevention: When to Escalate.: Never accept bad inventory. If defects exceed your Acceptable Quality Limit (AQL), demand a third-party re-test. Force a split shipment, require a partial remake, or fire the supplier.
💡 Diagnostic: The Sensory Check: Physical signs always appear first. If you smell wet paint, feel loose screws, or notice paint transfer, the factory skipped curing steps. Catch this early.
People Also Ask About Toy Sourcing
1. What is the standard MOQ for custom toys?
Factories usually demand a 1,000-unit minimum order quantity (MOQ) per design. However, you can negotiate.
In my experience, if you place orders during the slow season (January to March), many direct factories accept 500-unit pilot runs. Last year, we helped a client secure a 500-unit plush run by paying a slightly higher upfront tooling deposit.
2. How long does it take to manufacture a custom toy?
You should plan a 90 to 120-day timeline from concept to shipping. Engineers need exactly 30 days to cut steel injection molds.
Mass production and ISO 9001 quality testing add another 45 days. In our testing, rushing the tooling phase guarantees warped plastics. As Production Manager Chen told me: "You cannot speed up steel cutting without breaking the mold gates."
3. Do I need a sourcing agent to buy toys from China?
No. When you learn how to source custom toys, you realize you can bypass agents and hire a direct manufacturer.
Agents help beginners browse catalogs, but they extract a hidden 15% commission. When we audit supply chains, we find that skipping the middleman gives you direct access to tooling engineers. You speed up communication and lower your landed costs.
Conclusion
You now have a battle-tested SOP. You understand the exact sequence: brief, shortlist, audit, prototype, compliance, costing, production, PSI, and shipment release.
In the next 48 hours, draft your strict sourcing brief. Build your supplier scorecard. Then, request a prototype or book a compliance audit.
Need a technical partner? Explore our toy ODM & OEM solutions or review our custom toy manufacturing capabilities.
When you are ready to cut molds, contact our team for a factory-direct discussion. Continue your research by reading our guide on custom plush toys.
Author's Take: My team built this framework after logging thousands of hours on the factory floor. We judge facilities purely on engineering fit, strict compliance, and physical capacity.